Showing posts with label science. Show all posts

Tuesday, January 10, 2012

Fizz, Fizz, Bubble, Bubble! Classic Baking Soda and Vinegar Experiment!

I knew that someday during Tyler's childhood we would create a big volcano together and make it erupt with the classic flour, oil, salt, baking powder, and vinegar ingredients, but after seeing this more simple activity on several of my favorite blogs in the last couple months, I knew I had to give my little scientist a shot at it too!


With an anxious Tyler waiting (he can tell when we're about to do something cool!), I first colored some vinegar with food coloring. I put some in small cups for using droppers and more in a small bowl for spooning. We used a plate and a bowl on the tray at first, then ditched them, working only on the tray.

He chose spooning the vinegar first. It made quite a fizz and he seems to love the color green lately so he was very happy already!

He then decided to add the baking soda to the bowl of vinegar! Whoa! Big reaction! 

He did much more of that later, but next he decided to try out the droppers: "More colors!"

Adding baking soda by hand to the glasses. Sometimes they bubbled right over!

 He then decided to spoon it in. Eventually there was too much baking soda and the reaction dulled, so I quickly rinsed everything out and we started again. He often asked for more baking soda and more vinegar as well. We ended up using it every last bit!

 Dipping his fingers in to feel the fizzing

I just adored how carefully he was watching the reaction! I didn't exactly go into a chemistry lesson about it, but simply told him that when you put vinegar and baking soda together, they react to each other in ways that causes bubbles and fizz. If you're working with an older child (or your preschooler is a chemistry genius), you can find the scientific explanation here.

 Then, the moment I had been figuring would come much sooner than it did. The big vinegar dump!

Ty then experimented with the goopy mess, first by drawing.

Then by trying to fill the cups with it, hoping something cool would happen. He then asked me for more, but we were out of everything. Another day for sure!

Linking-up with The Imagination Tree

Tuesday, December 20, 2011

Baking With Little Ones

I'm really not the baker in our home, or generally the cook. I don't mind either and rather enjoy cooking at times, but the kitchen in the home we have rented the last 23 mos is so outdated and "yucky" feeling to me that I've really steered clear. We rented from 15 hours away via the Internet (with only nine photos of the whole place) as we had almost no time to relocate. Despite this, I knew I wanted to start a tradition and bake lots of Christmas cookies with Tyler this year, so I've sucked it up! I plan to involve Ty in a lot more of our cooking and baking when we (hopefully!) move soon. He really, really enjoys it!

The following pictures show what Tyler's "jobs" were when baking this week. Not pictured is Tyler helping me measure out ingredients (it's hard to take photos while we do that!) and I just don't let him crack eggs. Raw egg just makes me too nervous right now! So far we've made Spritz Cookies and Brown Sugar Christmas Cookies and will make and decorate traditional cut-out cookies later in the week. My plan was to have Tyler help me give many of them away to friends and neighbors, but Ty has come down with a cold and I'm quite stuffy myself; I don't think anyone wants our potentially tainted cookies. I have no idea what we'll do with them all!


Pouring dry ingredients 

Mixing

Pouring wet ingredients

Packing brown sugar

Scooping shortening from the measuring cup into the bowl

Pouring some yummy treats into the batter!

Though the batter was too thick for him to stir, it was interesting for him to feel how thick it had become.

Pushing the buttons on the cookie press

Decorating! I can't wait to let him decorate cut-out cookies soon!


So what has Tyler learned from baking cookies?

Following Instructions: I read aloud from the cook book which I kept in front of both of us, tracing my finger along as I read. I talked about how we had to read the recipe and follow the instructions to make our cookies, also showing him pictures of the end result we were working for.

Mathematics: We counted constantly as we poured a certain number of cups or spoonfuls and we also counted as we placed each cookie onto the baking sheets. I talked about each measurement, announcing what size cup or teaspoon we were filling. I also used smaller sizes that required us to use, for example, two  1/2 cups to make 1 cup or four 1/4 tsp to make1 tsp. and talked a bit about that as we went along.

Cooking Science: Tyler naturally learned that putting several ingredients together in a certain way can create something else. A yummy something else too!

Vocabulary: Ty added many more words to his vocabulary as well such as "flour", "teaspoon" and "mixer".

Relationship Building: As I quickly discovered, baking with kids is such a great bonding experience! Traditions like this are often carried on to the next generation and carry warm memories for life.

Confidence and Independence: If a child can go from a bunch of ingredients on the counter to something that the whole family can happily eat with as little help as possible, that feels really good! Tyler seems awfully proud after meals when we get to eat one of the delicious cookies he had such a hand in creating!

Linking with Deb at Living Montessori Now! and 1+1+1=1

Thursday, December 8, 2011

More Magnetix Play

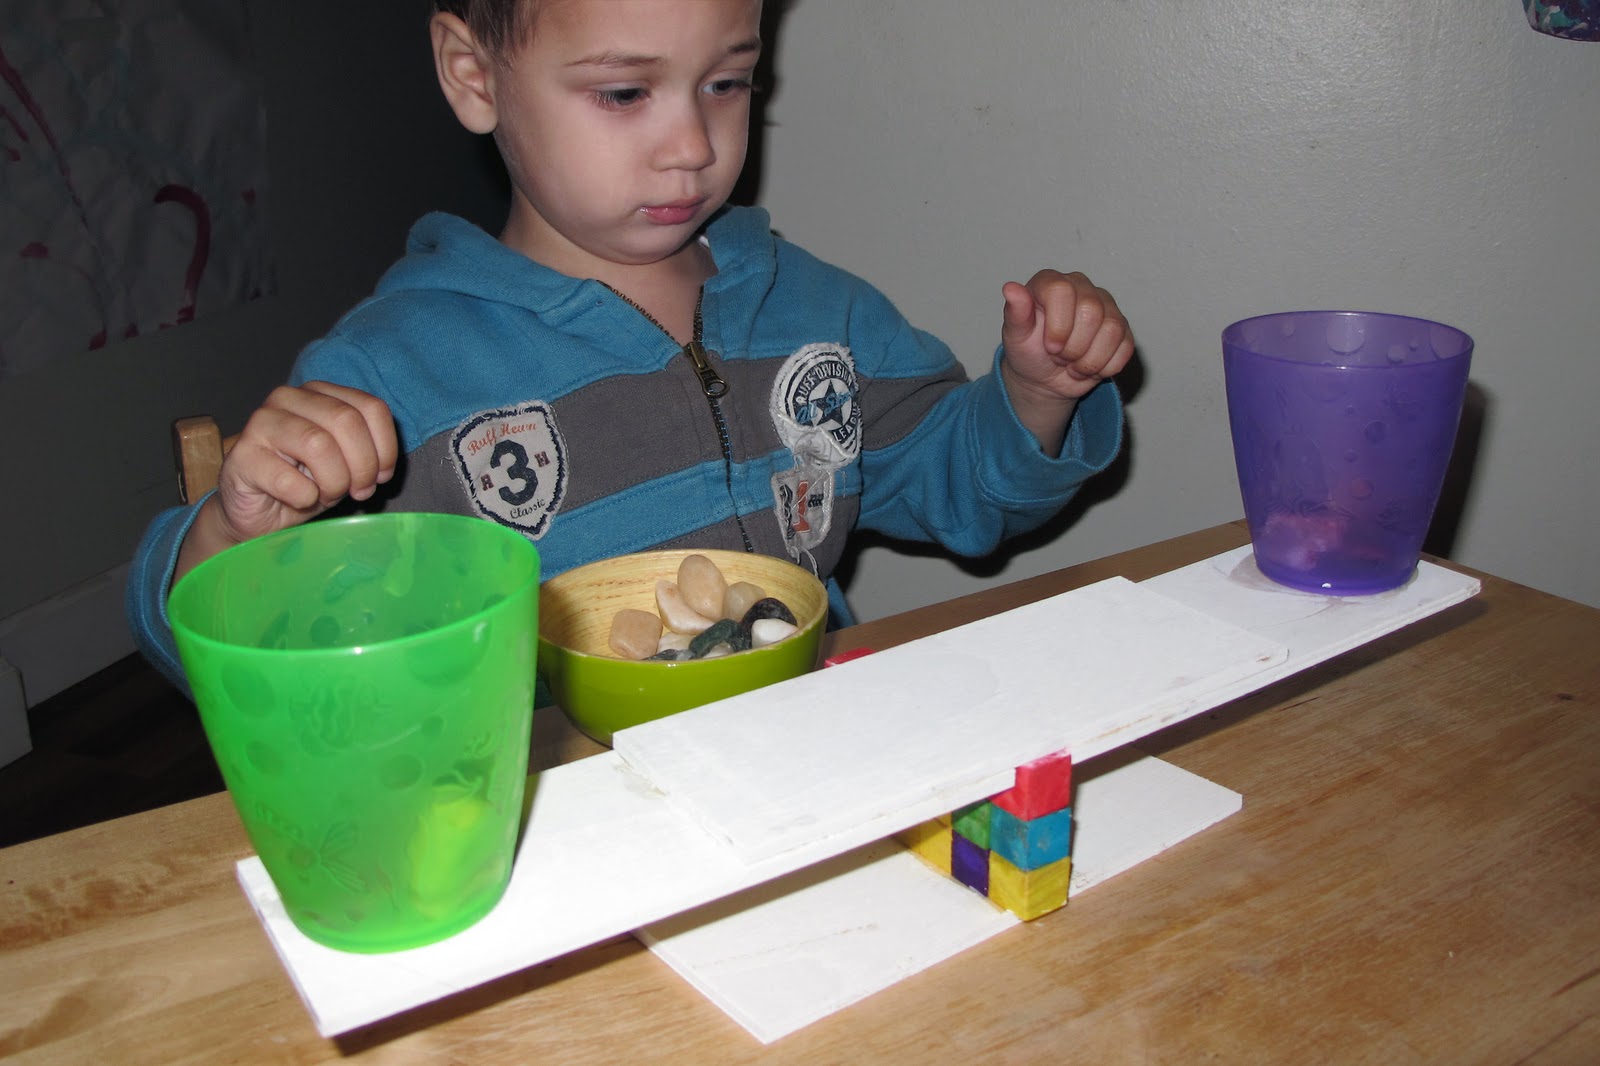
Sometimes I get a little idea...which grows into a kind of bigger, crazy idea. Sometimes it all works beautifully, sometimes not, but usually something good comes out of it. This was one of those times!

Last Christmas I received a set of Christmas themed cookie cutters. Really cute and with big and small cutters for each shape. The other day I suddenly remembered that I even owned these, and thought they may be fun for Tyler to match-up. I found them right away and looked through the box with an excited Ty. We labeled each shape, I showed him how there were small and big for each and casually demonstrated matching and nesting the matches inside of each other. I then thought that I could make it all more exciting by tracing the shapes onto paper so that he could match them that way. I also wanted him to be able to hang them somehow. I couldn't say why, I just did. Nails in the wall? Yeah, probably not a good idea. Looking around I noticed his Magnetix magnets and the long rods within the set. He could hang them from those perhaps? On a cookie sheet? No, no, no...refrigerator! By this time it was time for nap and off Tyler went with my husband. I tested out my plan. It worked! I mean, Ty would have to be careful so as not to knock the rods off of the fridge, but part of Montessori is learning to be careful, right? I got busy, knowing this could look really cool. In my head I knew it may really not work, but I couldn't help wanting to see the finished project.


After a good twenty minutes of tracing, writing, placing and centering the paper, finding my old locker keeper from 17 years ago and engineering a way to keep it on the fridge to hold the cookie cutters, it was finished. I beamed. Beautiful!

 When Ty woke we did his balloon rocket activity I posted about earlier, then I showed him the work. He was pretty excited...until he tried to really do it. The magnets on the end of the rods kept catching on the cookie cutters, a problem that I didn't have. I tried to stick putty over the ends to avoid the issue but as I tried to fix it, another problem quickly popped up. He was trying to be careful, but the rods were easily knocked down and off of the fridge. Ty stuck with it for quite a while, though I secretly wished that he would quit. I kept trying to help and make it work for him, rescuing and replacing rods, but I knew it was a fail. When he stopped, I promptly removed the papers and arranged them on the floor and demonstrated how to match them there we were trying to do on the fridge.. Ehh, not interested. The moment had passed and he moved on to something else. Blech. It didn't feel good.

 A while later he came back to the fridge and began randomly playing with the magnets. I wanted to give him something purposeful to do with them if he pleased. I quickly traced a circle onto paper and taped it to the fridge, showing him how he could place the rods onto the line of the circle to, well, make a circle.

He wasn't especially into what I demonstrated, but he really liked the circle, putting the rods mostly inside of the circle and counting them each as he placed them. Well that's not so bad, huh?!

Later I decided to draw dots inside the circle to form a happy face and showed him how to place a rod on each dot to make the face. He thought this was pretty cool, but didn't seem to grasp the concept. Just before bed though, he surprised me by heading to the fridge and doing it...and he did it well!

Tyler's Magnetix smiley face

The next morning he fiddled around with the magnets and discovered a few different ways that he could play with them on the fridge!  

Though I don't have a photo of any of his creations (this is clearly my "art" above), Ty also learned through experimenting that you can lay the Magnetix flat on the fridge, and that if the poles push away from each other, one rod will literally race straight off of the fridge! Pretty neat.

I love how many creative ways we can use these magnets and am so glad that I followed through on a bit of a flaky idea. We never would have discovered a new, exciting way to spice up our Magnetix use otherwise!

For a look at how I introduced Tyler to these Magnetix at 20 mos, and how we had been using them since then, you can take a look at this old post. Please remember that magnets can be dangerous if swallowed so know your child and always supervise magnet activities with young children!

Tuesday, December 6, 2011

Balloon Rocket

In looking for more science ideas for Tyler, I found something that not only tickled his natural scientist, but his balloon adoration as well! I just love when  two different areas of interest come together in one activity!

Materials needed:
A least one balloon
Straw
String/fishing line
Tape

To make your rocket:
String the straw through whatever kind of line you're using, making sure the straw can move easily. 
Secure each end of your line to something (trees, chairs...whatever you can).
Get a piece or two of tape ready. 
Blow up your balloon and pinch the end shut. 
Tape it to the straw.
When you're ready, let go of the balloon and watch it zoom down your line!

 It was quite difficult to take pictures of this in action, but here you can see the balloon whizzing past an amazed Ty!

We did this over and over for half an hour per Tyler's request, using a few different balloons as they wore out from time to time. Tyler's job was so push the string back and to bring the balloon back as it often fell off at the end.

Near the end, Tyler asked to do two balloons at once. Wow. It's a bit tricky enough to do this with one balloon, but two?! I thought I'd need four hands but I actually succeeded in the double balloon rocket three times (Mommies can do anything!). It was neat to see the rocket zoom with double the thrust! I don't think he knew it would do this, but we did talk simply about how the air coming out of the balloon was pushing it down the line.

I also tried to blow up the balloon to different levels so we could observe how far it would go based on how much or little air was in it, but Ty wasn't having it. He wanted the balloon to go at full force! He was also tired and kinda on the edge of meltdown (this is a common theme lately around here unfortunately) so I didn't push it. There's time to try that another day. In the future I'd like to also put the line at different inclines and use different shaped balloons!

I knew Tyler would want to watch the balloon in action later when it was taken down, so I took video. I figured since it's difficult to see what's going on from pictures I'd share it here too. Enjoy!

Friday, December 2, 2011

Beautiful Bottle Science!

This experiment was so fun and amazing to look at for both myself and Tyler. From toddlers through teenagers, there's something for everyone to learn. I plan to do this one again and take video of what happens. Highly recommended!
To run this experiment, you'll need the following:

Vegetable oil
Rubbing alcohol
Glass jar with cap/lid
Glitter and any other shiny objects you'd like
Food coloring (optional)
Funnel (optional but really helpful)

 1. Fill the jar about 1/4 of the way with rubbing alcohol

2. Add a drop of food coloring if desired

3. Fill the rest of the jar with vegetable oil, leaving about an inch of room at the top

4. Watch as the rubbing alcohol on the bottom rises up to the top. Lots of cool bubbles are created! Let them settle before moving on to the next step.

4. Add your objects. We used little beads 

The bubble blobs that came up when dropping the beads were so cool! It was like a lava lamp!

I don't have a picture of the glitter going in, but I highly recommend pouring it in rather than shaking it. The glitter raced down in one swirly line almost like a tornado. It looked so cool!

We added our food coloring after this having forgotten it earlier. It didn't seem to make a difference as it still went into the alcohol on top. I bet the oil/alcohol switch would have looked even more amazing with it though!

5. Fill the rest of the bottle with vegetable oil, right up to the rim. Screw the lid on tightly!

6. Roll and spin the bottle and be amazed!

7. Shake the bottle. The oil and alcohol mix to form this milky fluid while the glitter spins around one way around the edge of the bottle and differently inside.

 For some reason our beads didn't spin as dramatically as they were supposed to but it didn't matter, the glitter show was definitely enough!

Ty experimented with letting the liquid settle a bit (it never really got back to it's original/separated state), flipping it, turning it and shaking it all over again. It truly had us both mesmerized! If we had enough vegetable oil on hand we would have grabbed another jar and done it again! We let it settle for 24 hours then played again and it was still amazing!

I accidentally discovered this activity on the "Exploratorium" website, a fantastic looking science museum in San Fransico California. For all of the steps and more in-depth explanations about the science behind this experiment (which I only briefly touched on with Ty at this age), you can visit their website.

Monday, November 21, 2011

Homemade Levers: Science Play

I've had the idea of making a lever for Tyler for months. As I've mentioned recently, he is quite a little scientist, especially with "physics", and I wanted to help him further his interests. I just had no idea how I was going to make a lever. It stumped me, and I couldn't spend any money. Turns out I was able to come up with two lever ideas that have worked for him after a little searching around the house!

The small lever. Made with Woodsies, cups and small wooden cubes (sorry, I can't find the cubes on the Hobby Lobby website, but they are in the unfinished wood section in stores). 

I used three Woodsies boards (which I painted white) gluing them together in the above fashion (this is the underbelly) with wood glue. I left space for the fulcrum so that it wouldn't simply slip away and cause frustration. It needed a little niche so it would stay in place decently (which was my biggest obstacle when thinking of how to design this). The fulcrum made by gluing was several cubes together to make a wall. They were then glued to another Woodsie. The edges were sanded down later after I realized it would make it more of a real fulcrum (fulcrum's are typically triangular).

First we used unit block cubes. He got the idea of balancing them pretty quickly as he had actually done the next (big) lever first.


 He then wanted to use rocks. Though these rocks vary in size and weight, we aren't getting too exact here yet, still experimenting with the ideas of light, heavy and balance, so we went with it. Later I will have him use things like pennies and other small objects which have the same weight and size.

The first lever I made a couple days before was simply a sanded down piece of pine I had in the basement centered over Ty's balance beam. I the board left it a bit rough so the books would stay rather than slide, but not so much that he would get a sliver. Though I gave a quick demo, he seemed to know what to do right away and excitedly dove in!

Balanced! I can never get enough of his proud expressions!

Balanced again! I can't even tell you how long he did this on the first go.

Experimenting by putting books in different areas of the board.

Whoa! Time to balance this out!

Got it!

The only issue with this lever is probably pretty obvious. The books have to be placed well so that they don't fall off, something that frustrated him at times because his tolerance for things not going right has been so low lately. That's why I made the small lever with cups, though we continue to use this as well...when he isn't completely exhausted that is!

I would love to hear other or similar ideas so I can continue to expand upon Ty's interests. Feel free to share links!