Tuesday, December 6, 2011

Balloon Rocket

In looking for more science ideas for Tyler, I found something that not only tickled his natural scientist, but his balloon adoration as well! I just love when  two different areas of interest come together in one activity!

Materials needed:
A least one balloon
Straw
String/fishing line
Tape

To make your rocket:
String the straw through whatever kind of line you're using, making sure the straw can move easily. 
Secure each end of your line to something (trees, chairs...whatever you can).
Get a piece or two of tape ready. 
Blow up your balloon and pinch the end shut. 
Tape it to the straw.
When you're ready, let go of the balloon and watch it zoom down your line!

 It was quite difficult to take pictures of this in action, but here you can see the balloon whizzing past an amazed Ty!

We did this over and over for half an hour per Tyler's request, using a few different balloons as they wore out from time to time. Tyler's job was so push the string back and to bring the balloon back as it often fell off at the end.

Near the end, Tyler asked to do two balloons at once. Wow. It's a bit tricky enough to do this with one balloon, but two?! I thought I'd need four hands but I actually succeeded in the double balloon rocket three times (Mommies can do anything!). It was neat to see the rocket zoom with double the thrust! I don't think he knew it would do this, but we did talk simply about how the air coming out of the balloon was pushing it down the line.

I also tried to blow up the balloon to different levels so we could observe how far it would go based on how much or little air was in it, but Ty wasn't having it. He wanted the balloon to go at full force! He was also tired and kinda on the edge of meltdown (this is a common theme lately around here unfortunately) so I didn't push it. There's time to try that another day. In the future I'd like to also put the line at different inclines and use different shaped balloons!

I knew Tyler would want to watch the balloon in action later when it was taken down, so I took video. I figured since it's difficult to see what's going on from pictures I'd share it here too. Enjoy!

Monday, December 5, 2011

Rainy Day Jumping Pit


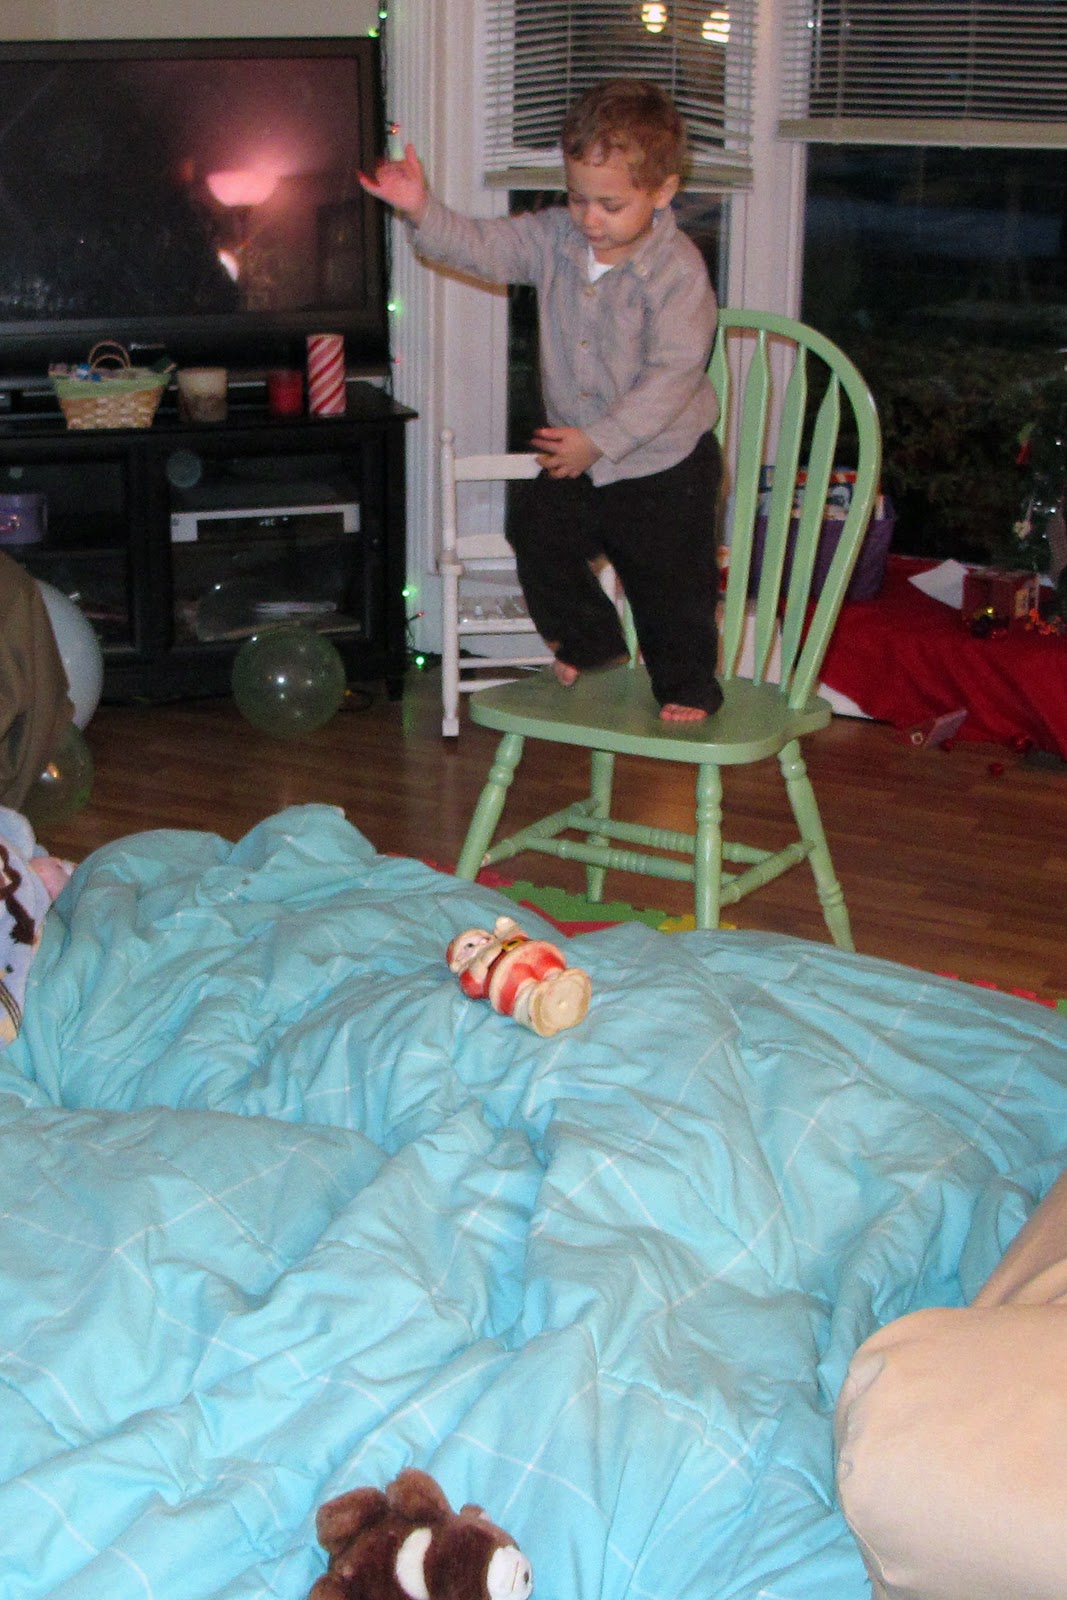
Tyler has been such a little kangaroo lately! He can't stop jumping, and jumping off of things has been a favorite past-time for a while, so we made him this pit to jump into to get his energy out the other day when we couldn't get outdoors. We used the couch cushions and every blanket and pillow in the house to make it, then put his cushy alphabet mats on both sides of it in case he somehow fell off. We pushed the couch/ottoman and chair up against it on both sides for jumping off and away he went!

We brought out stuffed animals after a while, but this old squishy/squeaky Santa (which was mine as a kid) was all he really wanted. He loved setting it up then aiming for it as he jumped, making it squeak as he landed on it.

I realized that he really wanted more height, so I pulled up a chair for him. I think he would have been much happier if we turned the living room chair around so he could jump off of the back of it, but I didn't think of it until it was too late. Next time!

While my husband and I jumped in too from time to time, after a while he wanted us to jump alongside him. Fun!

Sunday, December 4, 2011

Shapes, Colors, Sizes and Patterns!

I quickly put these two activities together this morning for Tyler. They follow what he's already into and they were an instant success!

"Tyler, I have something to show you. Do you want to make shapes?
 "Yeah!"
"Ty, I have something else to show you. Do you want to work with big and small?"
"Yeah, Yeah!!"

This work focuses on making squares and rectangles using unit blocks. It also works on color matching as  the child matches each color to the appropriate square in making each shape.

This work was inspired after using cubes with his homemade lever a while ago. I randomly started playing with  the cubes, putting all four together to make bigger squares. He watched and was intrigued so I handed them over and let him try. He was proud when he figured it out himself (as you can see in the photo), but it wasn't easy for him.

 Having the visual on paper in front of him helped him be more successful. Though lining blocks is often a natural activity at this age, I don't think he typically sees the lines and thinks "Oh, a rectangle!" when he does it. This work helped him with the shape concept as I told him "I'm making a rectangle" when demonstrating.
He was happy to be so successful with the square. I enjoyed watching how he would push the cubes together when he was done to make his square more "neat".

Tyler continues to talk about sizes and the kid still adores his puffballs, so this activity made sense. This works on big, small and of course pattern work, which I feel he could use a bit more of. I purposely used two shades of pink and red for a bit of spectrum recognition. I backed both this and the shape work on cardboard for durability.

 Ty was extra excited to do this work! I think it looks a bit festive when completed as well!

Linking-up with really great ideas at 1+1+1=1 & Living Montessori Now!

Friday, December 2, 2011

Beautiful Bottle Science!

This experiment was so fun and amazing to look at for both myself and Tyler. From toddlers through teenagers, there's something for everyone to learn. I plan to do this one again and take video of what happens. Highly recommended!
To run this experiment, you'll need the following:

Vegetable oil
Rubbing alcohol
Glass jar with cap/lid
Glitter and any other shiny objects you'd like
Food coloring (optional)
Funnel (optional but really helpful)

 1. Fill the jar about 1/4 of the way with rubbing alcohol

2. Add a drop of food coloring if desired

3. Fill the rest of the jar with vegetable oil, leaving about an inch of room at the top

4. Watch as the rubbing alcohol on the bottom rises up to the top. Lots of cool bubbles are created! Let them settle before moving on to the next step.

4. Add your objects. We used little beads 

The bubble blobs that came up when dropping the beads were so cool! It was like a lava lamp!

I don't have a picture of the glitter going in, but I highly recommend pouring it in rather than shaking it. The glitter raced down in one swirly line almost like a tornado. It looked so cool!

We added our food coloring after this having forgotten it earlier. It didn't seem to make a difference as it still went into the alcohol on top. I bet the oil/alcohol switch would have looked even more amazing with it though!

5. Fill the rest of the bottle with vegetable oil, right up to the rim. Screw the lid on tightly!

6. Roll and spin the bottle and be amazed!

7. Shake the bottle. The oil and alcohol mix to form this milky fluid while the glitter spins around one way around the edge of the bottle and differently inside.

 For some reason our beads didn't spin as dramatically as they were supposed to but it didn't matter, the glitter show was definitely enough!

Ty experimented with letting the liquid settle a bit (it never really got back to it's original/separated state), flipping it, turning it and shaking it all over again. It truly had us both mesmerized! If we had enough vegetable oil on hand we would have grabbed another jar and done it again! We let it settle for 24 hours then played again and it was still amazing!

I accidentally discovered this activity on the "Exploratorium" website, a fantastic looking science museum in San Fransico California. For all of the steps and more in-depth explanations about the science behind this experiment (which I only briefly touched on with Ty at this age), you can visit their website.

Thursday, December 1, 2011

Literacy Extension: Jan Brett's "The Mitten"


Jan Brett's book, "The Mitten" has been a favorite seasonal book in our home since Tyler was a newborn. I have fond memories of reading it to him on winter nights as he nursed himself to sleep. I honestly think that I can thank this book for making him interested in wearing his mittens outdoors this year!

If you're unfamiliar with the book, it's based on a lovely Ukrainian Folktale with gorgeous illustrations by Brett. I truly want to dive into the book at sit by the fire and warm myself in their cozy home and don their beautiful traditional dress. The story tells of a boy named Nicki who wishes for his Grandmother to knit him snow white mittens, and though she warns they'll be hard to find in the snow if lost, Nicki really wishes to have them, so she goes ahead and makes them for him. When Nicki heads out into the snow, he of course unknowingly drops one. It isn't long before animals, from small to large, find the mitten and decide to take shelter inside of it, stretching it greatly. On the sides of each page, we also see what Nikcki is up to on his adventures, as well as what animal is approaching the mitten next. Great foreshadowing hints for young readers! When a mouse comes along and sits itself on the largest animal's nose (a bear), the bear sneezes and all of the animals fly out of the mitten, and the mitten itself flies high into the air. Nicki, who had just realized he lost his mitten, spots it and runs to grab the mitten, showing his grandmother that he didn't lose his mittens as she had guessed he may.  

Ty is a kid who truly adores books and I am really trying to remember to create and add more literacy extensions to our activities. This one was pretty straight-forward and Tyler is enjoying the book so much this year that I went right after it.
  
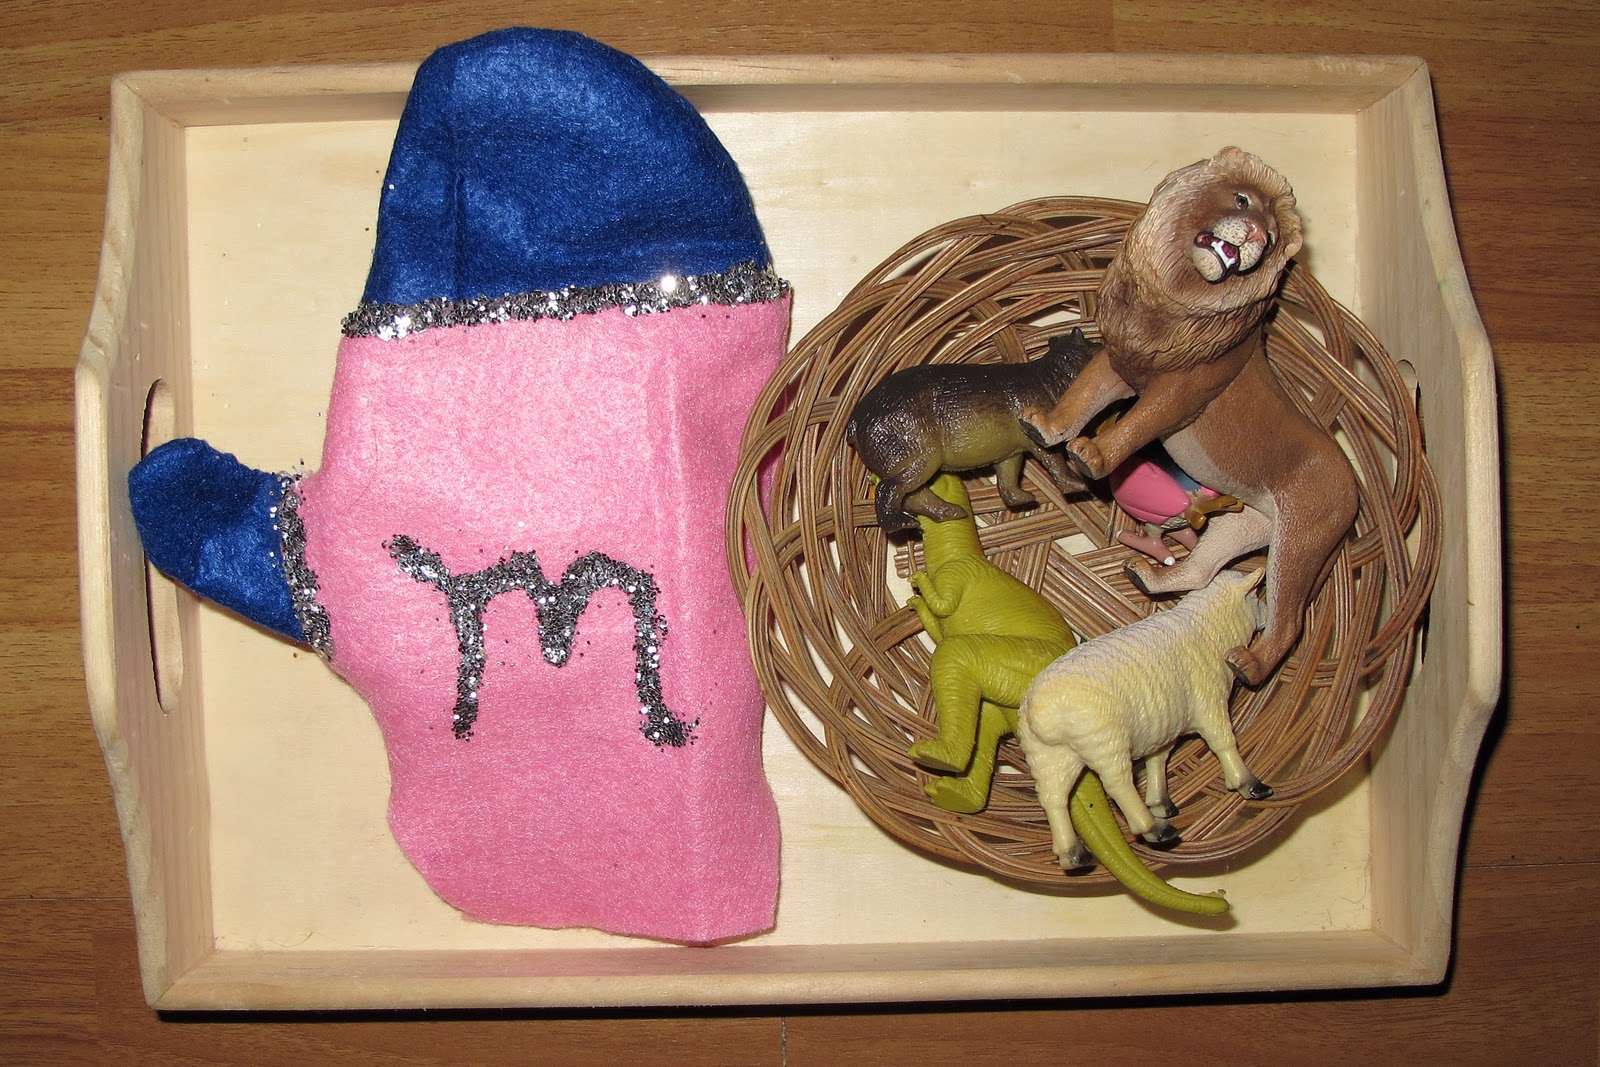
My idea was to make a large mitten that Tyler could fill with animals, from small to large, just like in the book. I have no idea how to knit, so I planned to use felt. I had less felt that I thought it did, but I made do by piecing different colors together. I am in no way an artist and certainly not one to sew a whole lot, but I was determined to do it as I had a strong feeling that Tyler would really enjoy the activity!

Okay, no laughing (okay you can laugh, but just a little!). This was the final product. Can't say I'll be selling on Etsy anytime soon but it works and Tyler thinks it's just lovely! I thought the glittery lowercase "m" for mitten was a nice touch, though I admit there's loose glitter stuck all over his rug right now. :)

 While I imagined the mitten being larger, Tyler had enough small animals to fit inside comfortably. I didn't want to make it too frustrating so I filled it myself many times and in many different ways to be sure it wasn't too tight. While we don't have many of the animals in the book (I have no idea where I'd even look for a hedgehog or badger figurine!), the concept was there. The fact that the animals weren't the same didn't bother him too much and we talked about how our "story" was a little different.

 Checking out the book a bit while he worked. Here he is looking at the owl page and being happy that we did have an owl figurine to put in his mitten like in the book, the only animal we had that is the same.

He put the animals in small to large, as they do in the book.

We then pretended to sneeze...

...and out fell the animals!

This has been repeated countless times over the last two days. Literacy extensions are hot on my radar now!

After this activity went so well, I searched online for more literacy extensions. I wasn't especially impressed with anything for this age, but I did discover that Jan Brett has a website with tons of activities and coloring pages relating to her books! The only activity I noticed that had to do with "The Mitten" was similar to what I did, but using paper. There are mittens and all of the animals to print and cut if you're interested. I bet that some of you will get pretty creative with this one!

Jan Brett's "The Mitten Activity" printout can be found here
Jan Brett's Website

Tuesday, November 29, 2011

Laundry Sorting

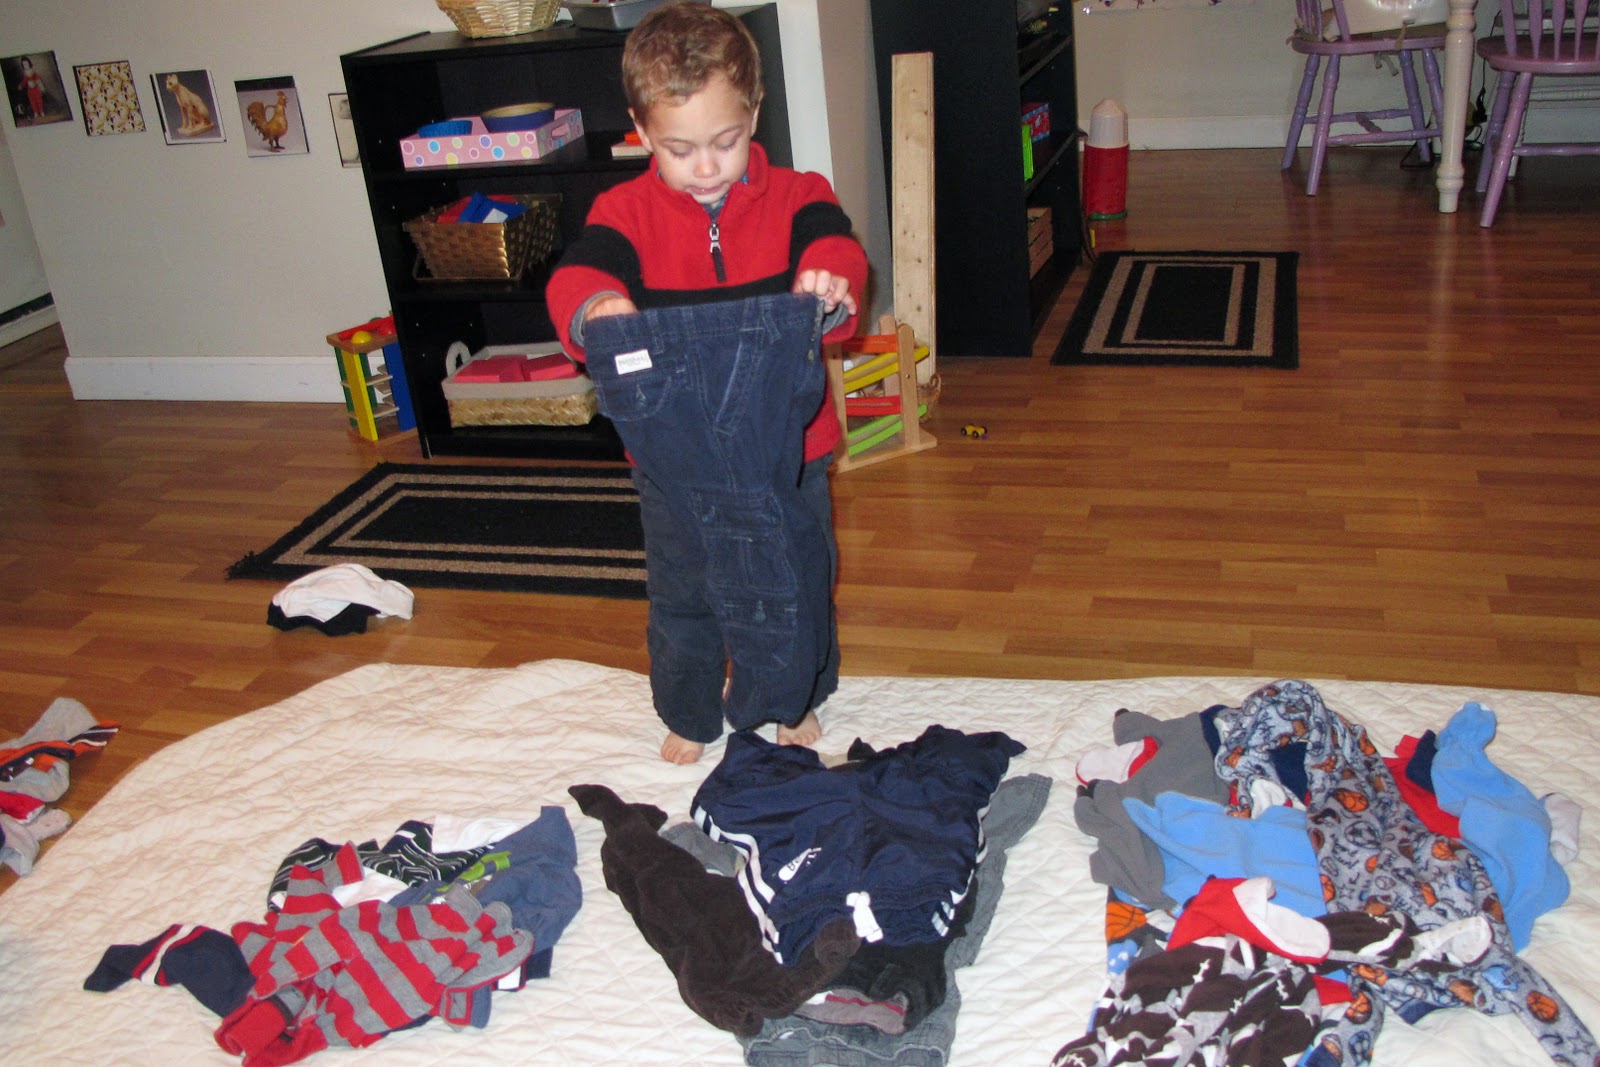
Last week Tyler sorted and matched sock,s and this week, he sorted his own clothes! This is probably something he could have been doing for a while, but I'm not sure that he would have been too interested.

 Catching him in an in-between activities moment, I called Tyler over told him that I was sorting our laundry by clothing type and asked if he wanted to help sort his own clothes.I lay out a shirt, pants and jammies in a row for him and gave him pile of his clothes to match them to.  

He got into it! We clearly need to work on folding at a later date, but this is a start! I've demonstrated folding washcloths and dish towels before and he has no real interest yet.

After he sorted I thanked him for his help, offered to teach him to fold (no thanks), but he watched me fold for a bit. He then wanted us to bounce all of the clothes I had just folded on the blanket I laid out. I admit, we did it with his jammies. It was fun!